Basic Appium Automation: Part 1- Appium Locators
Types of Locators available in Appium 2 and How to Find Them.
These previous articles:
Your First Complete Appium Test against iOS Simulator
serve as an introduction to Mobile Test Automation with Appium 2. Yes, mobile test automation is more complex than web test automation, with more terminologies, such as Simulator, Device, Inspector and XCUITest (and later the similar set for Andriod platform).
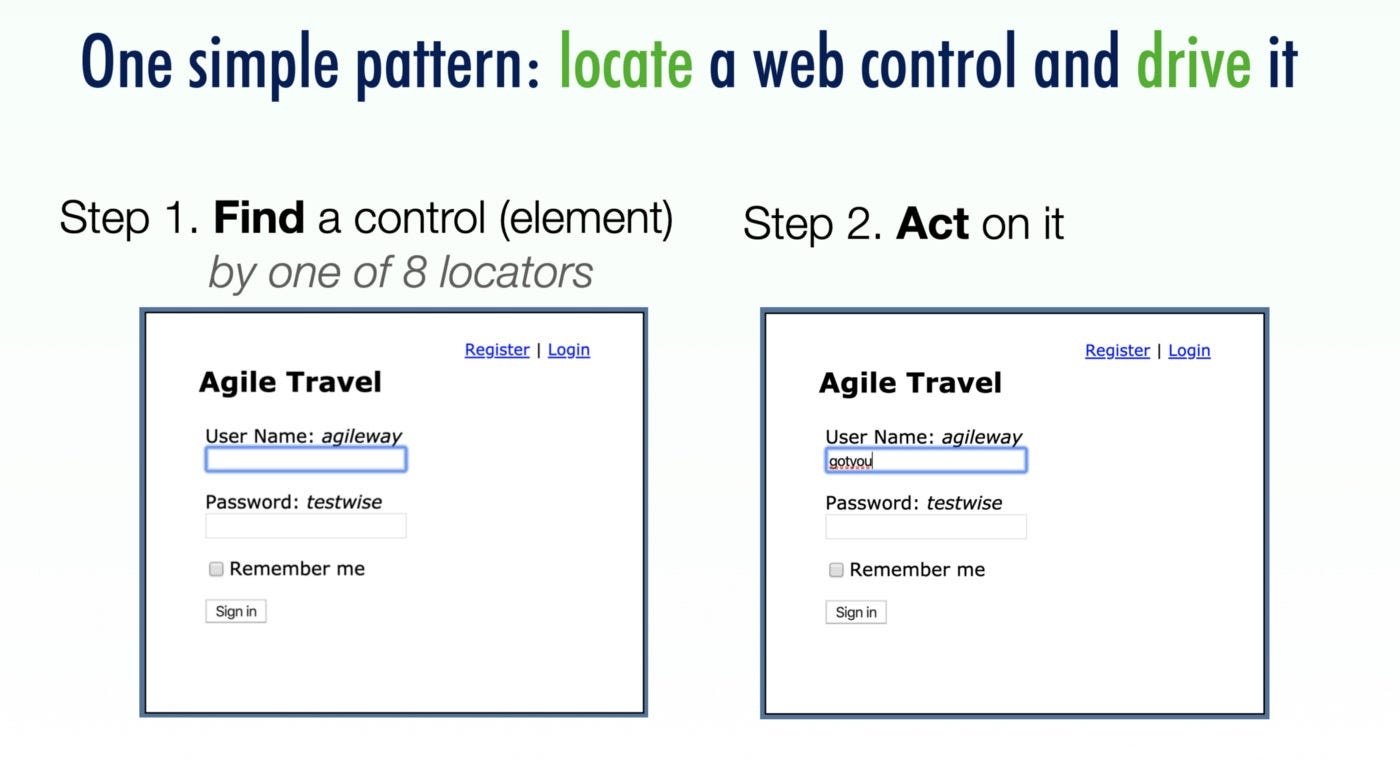
Starting from this article, I will go back to basics on starting hands-on Test Automation with Appium 2. To automate (or another term, interact with) one control on an app: You need to locate it first.
Locating Element is the first step to Drive a Control
Appium, similar to Selenium, consists of two steps:

Locate an element
A typical mobile app consists of numerous controls (or better name: elements). UI elements can be containers (such as a View or Pop-up Alert Window), or a specific control (such as a button or text field).Perform actions on the element
The available actions we can perform depend on the type of the UI element. For example, you can “click” a button “enter text” into a text field, etc.
At the test step level, the biggest challenge in UI test automation is to work out a reliable locator to identify a UI control.
Tip: I don’t recommend using recorders. Manual scripting is quite easy and produces more better locators, i.e. more reliable automated test scripts.
Check out my father’s article: “Record/Playback in Test Automation is Bad, mostly”.
Syntax
The Appium syntax to locate an element is quite simple and looks like the following:
Keep reading with a 7-day free trial
Subscribe to The Agile Way to keep reading this post and get 7 days of free access to the full post archives.


