Basic Appium Automation: Part 3— Using Locators (Android)
How To Use the Accessibility ID, ID, XPath and Class Name Locators in Android
In Part 1, we covered the available locator types in Appium 2. In Part 2, we looked at using locators for iOS. In this article, let’s look at creating a sample script using a few different locator types for an Android app.
Key Points
Using the Accessibility ID, ID, XPath and Class Name Locators in a sample Android app
Using the
find_elementmethod to locate a single elementUsing the
find_elementsmethod to locate multiple elements with the same locator
Sample App
This article uses Appium’s Sample Android Test App. This is available on Appium’s Github page as a sample app. Download and save the ApiDemos-debug.apk file.
This test app contains a simple addition calculator, which we will use to try out the AccessibilityID, Name, XPath and Class locator types.
Android Calculator App — Accessibility ID, Name, XPath, Class Locators
The Appium capabilities to start up the Appium session are:
app_file = File.join(File.dirname(__FILE__), "..", "..", "sample-apps", "ApiDemos-debug.apk")

opts = {
  caps: {
    automationName: 'UiAutomator2',
    platformName: 'Android',
    platform: 'Android',
    platformVersion: '12',
    deviceName: 'emulator-5554',
    app: app_file,
    appPackage: 'io.appium.android.apis',
    appActivity: 'io.appium.android.apis.ApiDemos'
  },
  appium_lib: {
    server_url: "http://127.0.0.1:4723"
  },
}
You can copy these into Appium Inspector as well:
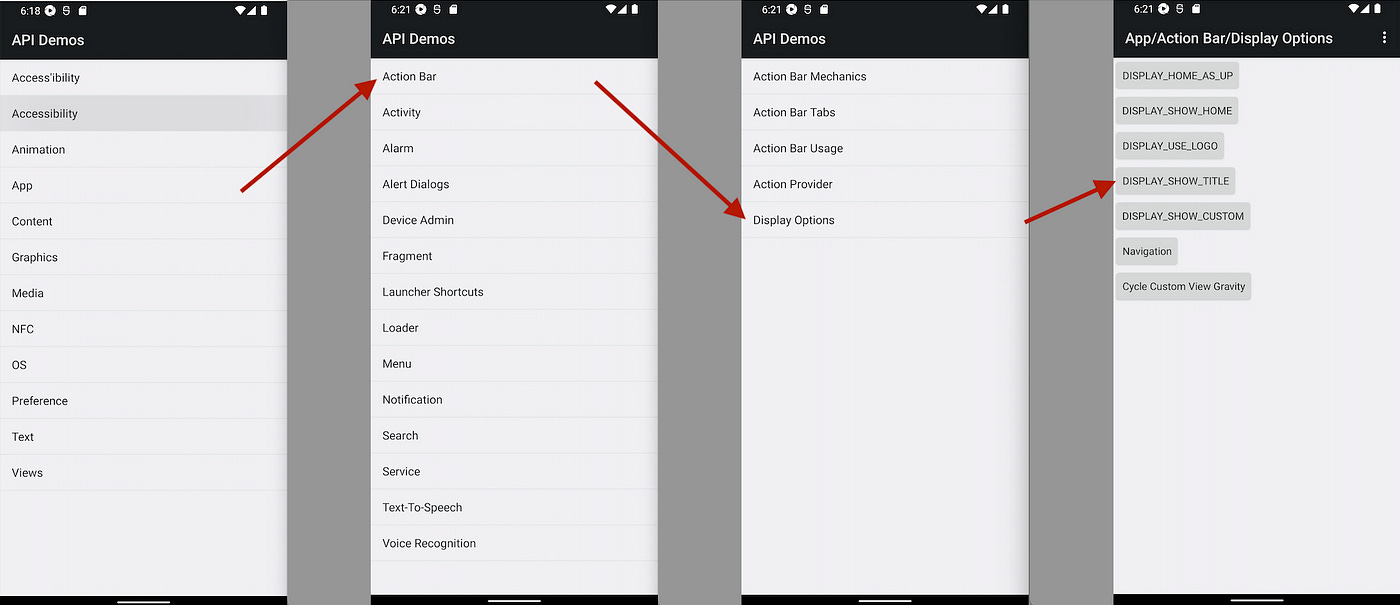
The API Demos app features a lot of different Android components. For this demo, we’ll be navigating through the catalog, then showing and hiding a header field.
Let’s look at each section one by and one and identify some locators.


