Case Study: Image Manipulation in Automated End-to-End Tests
Automate an iOS Tic Tac Toe app with Appium 2 (XCUITest) Part 2: Player vs Computer.
In a previous article, I walked through using Appium 2 to play a TicTacToe game (on iOS). That was Player vs Player mode, i.e. we can plan the moves to get desired output.
Zhimin’s notes: Courtney initially named the article, “Automate an iOS Tic Tac Toe app with Appium 2 (XCUITest) Part 2: Player vs Computer”. I suggested, “the techniques in this article are mainly image processing, not limited to Appium mobile testing. For example, in web app testing, there are cases for this too”.
I will add a more dynamic twist by choosing Player vs Computer mode. Please check the previous article’s set-up guide if you want to follow along.
Test Case
To complete a Tic Tac Toe game (on iOS) in the Player vs Computer mode using automated end-to-end test scripts.
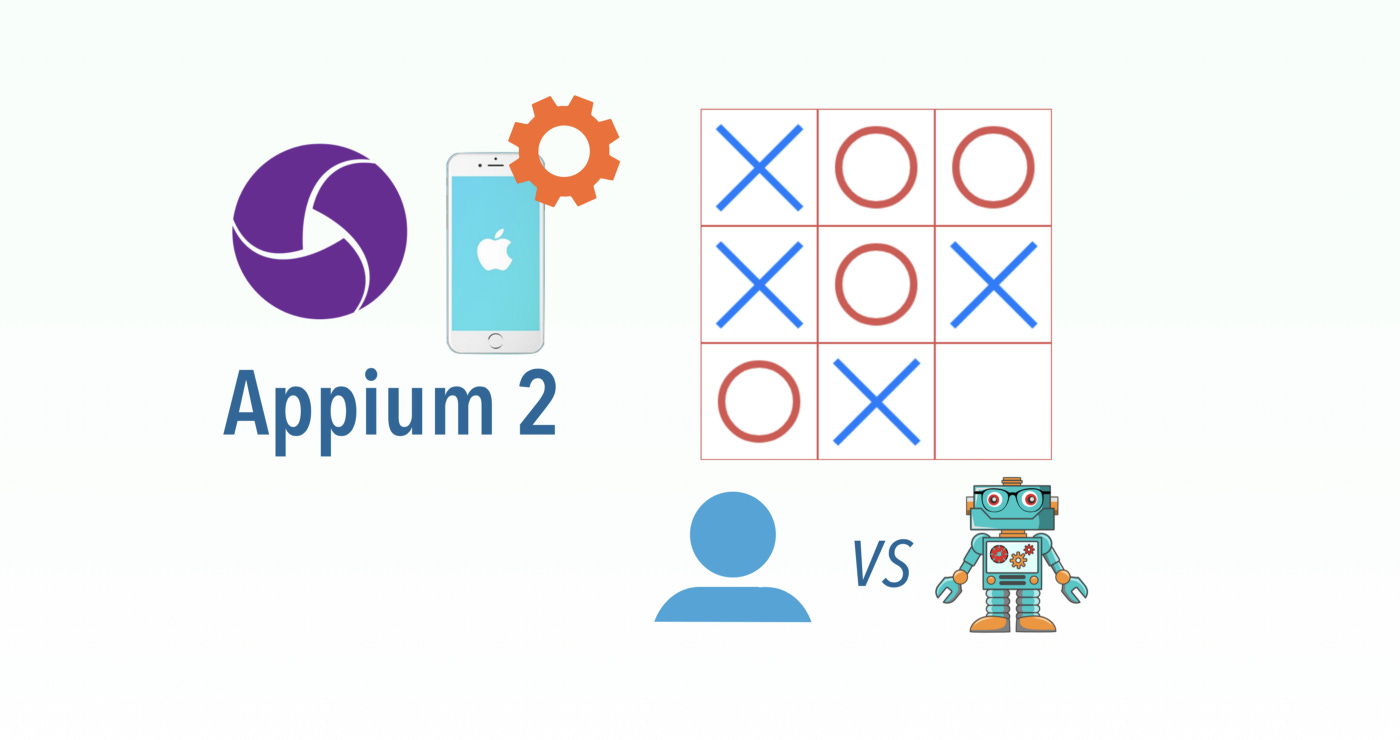
The challenge is to tap an available (i.e. blank) cell after the computer’s move, which is random. In this app, each cell is an image (either showing blank/X/O).
This app has nine cells. Each can be one of three states:
blank
✕ image
⭕ image
The challenge of this test case is to tap one of the available (i.e. blank) cells, which are non-deterministic (after the computer moves).
In Appium, to my knowledge, there is no way to retrieve the image’s name. Therefore, we can’t detect what is in the cell. This translates to an image detection problem.
The test script for this article is in Ruby, the best language for scripting automated tests. There are intuitive image manipulation Ruby libraries (called gems), which I will use to accomplish the task.
Test Design
1. Take a screenshot of the app after each move, and save it to a file.
2. Crop the board (square shape) out of the screenshot.
3. Crop the board to generate nine equal-sized images (to represent the cells).
4. Analyze each cell image to determine whether it is blank.
The easiest way to do it is via colour detection. Please note, whilst it appears just red or blue to human eyes, there are many more colours (anti-aliasing). We can use the number of unique colours to differentiate blank and played cells.
5. On the player’s turn, place a token in a random blank cell until the game ends.
Preparation
Install required gems.
1. ImageScience
This is an image-cropping library.
% brew install FreeImage
% gem install — no-document image_science
2. ChunkyPNG
This gem gets PNG info, including each pixel’s colours.
% gem install-no-document chunky_png
Steps
Save a screenshot of the app in Appium.
Appium has a built-in function screenshot_as that saves a screenshot of the iOS screen.
# screenshot then save as PNG in /tmp/base64.png
png_base64 = driver.screenshot_as(:base64)
File.open("/tmp/base64.png", "wb").puts(Base64.decode64(png_base64))
The screenshot is encoded in Base64 format. To save it as a PNG file, decode the Base64 and save it in binary file format (with wb).
2. Crop the board (square shape) out of the screenshot.
Knowing the exact area where to crop the board is finicky. I had to manually open the saved image and figure out where precisely the board began and ended, as well as the board’s dimensions.
The board was 1074 x 1074 pixels. The board offsets were 48 pixels (from the left) and 688 pixels (from the top). With this, we can crop the board.
width = 1074
height = 1074
#  cut images with ImageScience library
ImageScience.with_image("/tmp/base64.png") do |img|
    img.with_crop(48, 688, 48 + width, 688 + height) do |crop|
        # save the board to /tmp/board.png
        crop.save "/tmp/board.png"
    end
end3. Crop the board to generate nine equal-sized images.
In this step, we take the previously generated board.png and slice it into 9 equal squares.
cell_width = width / 3
cell_height = height / 3

ImageScience.with_image("/tmp/board.png") do |img|
  cell_list.each do |x|
    row = x / 3
    col = x % 3

    img.with_crop(col * cell_width, row * cell_height, (col + 1) * cell_width, (row + 1) * cell_height) do |crop|
      # save each cell and name the file with the row-column coordinates
      crop.save "/tmp/cell_#{row}_#{col}.png"
    end
  end
end4. Analyze each cell image to determine whether it is blank or not?
To check if a cell is blank, I used ChunkyPNG to return the number of unique colours present. If the number is low (<1000), we can assume the cell is blank.
Because of the red cell border and anti-aliasing, there is not just
1colour. Instead, a blank cell has around 200 colours. I’ve set the limit to 1000 just to be safe.
def is_blank_cell(img)
    height = img.dimension.height
    width = img.dimension.width
    puts "height: #{height}, width: #{width}"
    color_codes = []
    height.times do |i|
      width.times do |j|
        arr = [ChunkyPNG::Color.r(img[j, i]), ChunkyPNG::Color.g(img[j, i]), ChunkyPNG::Color.b(img[j, i])]
        color_codes << "\##{arr.map { |x| x.to_s(16).rjust(2, "0") }.join.upcase}"
      end
    end
    color_codes.uniq!
    return color_codes.size < 1000
end
5. On the player’s turn, place a token in a random blank cell until the game is ended.
As shown in the previous article, playing a cell is as simple as tapping it. The problem in this step is to choose a random blank cell.
I decided to record all the blank cells from an array named blank_cells. I used sample function to randomly select one blank cell, as shown below. A bit of programming is required here.
Keep reading with a 7-day free trial
Subscribe to The Agile Way to keep reading this post and get 7 days of free access to the full post archives.


