Use a Dedicated ChromeDriver for Better Web Test Execution Stability
How to use a specific version of ChromeDriver for Automation.
Since Selenium v4.12, Selenium Manager automatically provides the automated driver and browser management for Selenium. This simplifies the web test automation setup, which is very convenient. However, this does leave the possibility that the Chrome browser + ChromeDriver combination (installation not managed by you) could lead to test execution stability issues in your test scripts. That said, the quality release of ChromeDriver has been great recently. However, when it happens (as seen in the past), it can be frustrating and time-consuming to identify the cause.
In this article, I will show a way that can lock Chrome and ChromeDriver to a specific version for a web test automation testing lab.
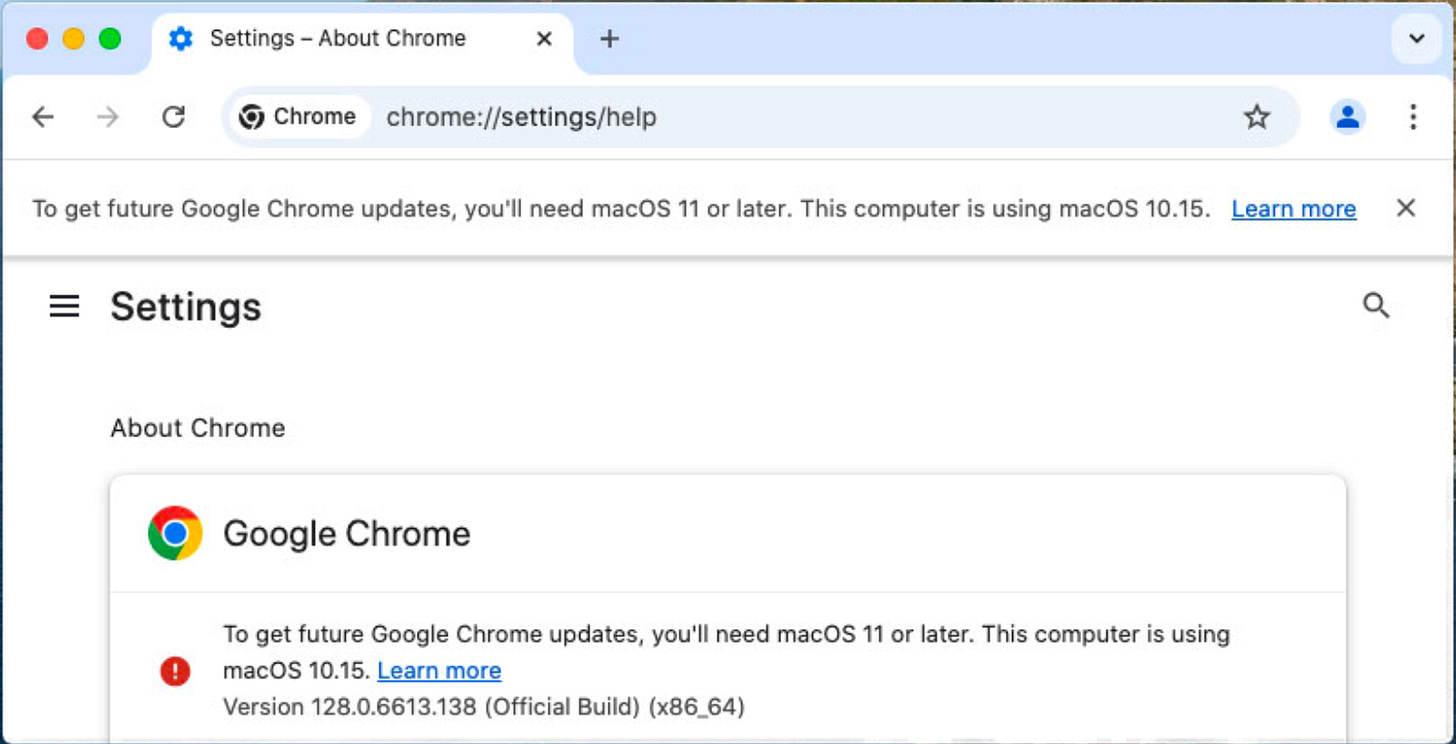
For starters, let me share proof. Below is a screenshot of the Chrome browser on Build Agent#2 (a 2012 Mac Mini) in my father’s testing lab.
Yes, the OS (macOS v10.15) is the three major versions behind, and the Chrome browser (the latest possible for the OS) is 6 versions behind 😅. Yet, it has been testing well all these years, even today.
This means that for most software teams, there is no need to using the latest Chrome browser (and its matching ChromeDriver).
1. Decide a Chrome + ChromeDriver Version you are happy with
If you are happy to be on the latest version, continue to use Selenium Manager. But if you want to pin a specific version (one that your customers use or that you’re forced to use due to older OSes), decide which version to lock at.
2. Turn off Chrome browser auto-updates
Follow the steps in this Google documentation. This prevents the version from changing by a browser auto-update.
3. Install a specific version of ChromeDriver
Here, I will illustrate with example on macOS.
a. Download the specific version of ChromeDriver for your OS.
Go to the Chrome for Testing site:
Choose the stable version of the version you want.
Download the appropriate zip file for your OS. For example, for my M4 MacMini, I chose “mac-arm64”.
Unzip the file and get the chromedriver file, and copy it to /usr/local/bin.
mv ~/Downloads/.../chromedriver /usr/local/bin Run it from a terminal, you will get a warning pop-up on macOS.
Click the “Cancel” button. Then go to System Preferences > Security & Privacy.
Click “Open Anyway” next to chromedriver.
Click “Open”.
Your terminal will open and you will see ChromeDriver start, like below:
iMac-Study ~ % /usr/local/bin/chromedriver ; exit;
Starting ChromeDriver 134.0.6998.35 (ea6ef4c2ac15ae95d2cfd65682da62c093415099-refs/branch-heads/6998@{#1472}) on port 0
Only local connections are allowed.
Please see https://chromedriver.chromium.org/security-considerations for suggestions on keeping ChromeDriver safe.
ChromeDriver was started successfully on port 52786.
You can close this window — the setup is done!


