
Tutorial: Step by Step Implement Continuous Testing with Playwright. Part 2: Correct Unnatural Default Settings
Go for simplicity.


This article series targets absolute beginners who want to learn and use Playwright E2E (Web) Test Automation (for real).
Part 1: Set up Playwright
Part 3: Run your first Playwright Test
Part 4: Tool & Project Structure
Part 5: Gain Productivity
Part 6: Design with Maintenance in mind
Part 7: More Tests
Part 8: Set up Continuous Execution
Part 9: Run a small suite of Playwright tests in BuildWise, sequentially
Part 10: Parallel Playwright test execution in BuildWise
Part 11: FAQ
Correcting Playwright’s wrong default behaviours
When just getting started, you probably don’t care much about cross-browser testing (running your app in Chrome, Firefox, and Safari). What you do want is to actually see your tests running in the browser — it helps with understanding and debugging.
By default, Playwright runs your app in all available browsers (more than one) in a hidden mode. So let’s change those default behaviours.
By the way, you cannot continue to use the previous terminal window, because Playwright keeps a process running to serve its test report, which is also abnormal. Anyway, press ‘Ctrl+C’ to stop it.

1. Using just one browser type: Chromium
Open the project folder with your favourite programming editor, e.g. Visual Studio Code or TextMate. Locate the playwright.config.ts file.
Around the line 36:
projects: [
    {
      name: 'chromium',
      use: { ...devices['Desktop Chrome'] },
    },

    {
      name: 'firefox',
      use: { ...devices['Desktop Firefox'] },
    },
    {
      name: 'webkit',
      use: { ...devices['Desktop Safari'] },
    },
Remove or comment out “firefox” and “webkit” part for now. We just need one browser: Chromium.
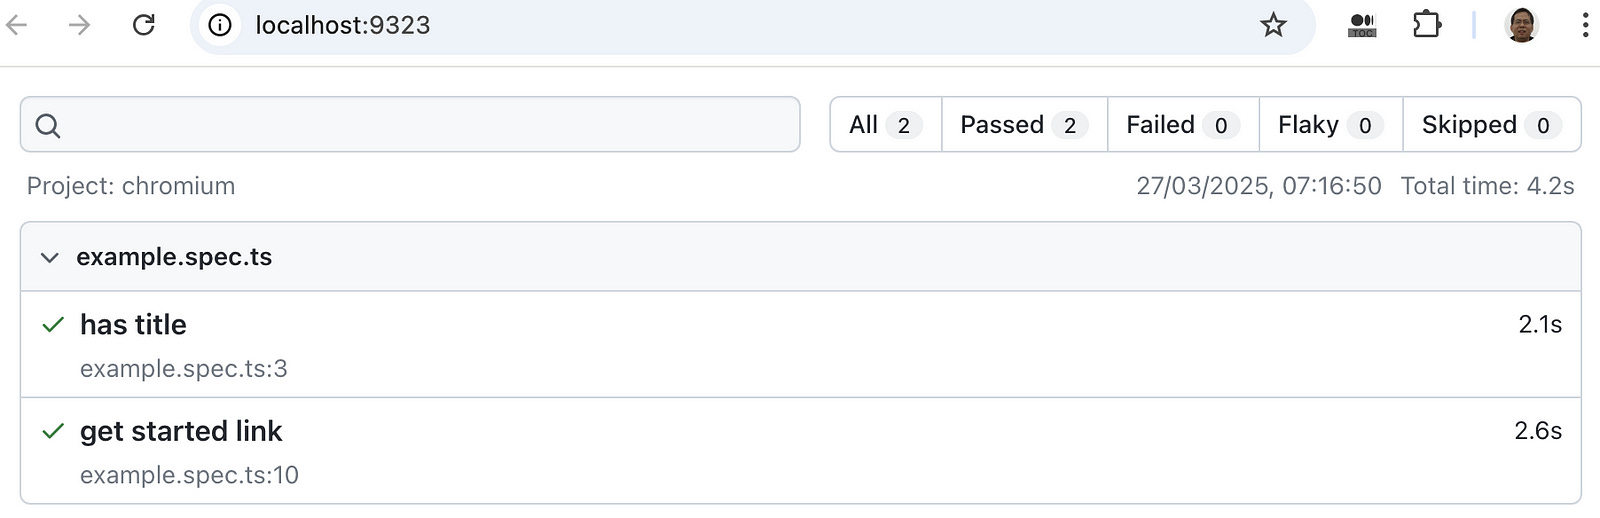
Rerun the default example test:
npx playwright testThis time, it will run much quicker and just for the Chromium browser.

Good, one problem is fixed.
2. Seeing the browser test execution (headed mode)
Still, beginners want to see automation in browser, right? There are two methods.
1. With a command line argument --headed
npx playwright test --headed2. Change the default behaviour in playwright.config.ts
Around line 27 block, add the following line:headless: false.
use: {
   /* Collect trace when retrying the failed test. See https://playwright.dev/docs/trace-viewer */
    trace: 'on-first-retry',
    headless: false, // Enable headed mode
},
Note: If you are running tests via Visual Studio Code, the config file doesn’t work, so even if you have
headless: false, it will still try to run in headless mode. I recommend using the command line for now until Playwright in VS Code fixes that issue.
Now you can run the test again with:
npx playwright testYou should see the browser open and a few actions executed. It will be still quick, maybe too quick to catch what is happening on the screen. That’s totally fine, as it is an example test.
3. Change to run just in one browser instance
While you ran the test before, you might have noticed that two browser windows started up.

Again, this is an unwanted behaviour. It complicates things unnecessarily, at least for beginners. Let’s limit Playwright to running tests in one browser at a time.
On line 23 of playwright.config.ts.
workers: process.env.CI ? 1 : undefined,Change it to:
workers: 1,For readers wondering about parallel execution — don’t worry, there is a much better and more intuitive way to handle it; which I will cover later in this series. This worker set-up in Playwright is not as good as some might think.
Below is our final playwright.config.ts (after removing all comments).
import { defineConfig, devices } from '@playwright/test';

export default defineConfig({
  testDir: './tests',

  fullyParallel: true,

  forbidOnly: !!process.env.CI,

  retries: process.env.CI ? 2 : 0,

  workers: 1,

  reporter: 'html',

  use: {
    trace: 'on-first-retry',
    headless: false,
  },

  projects: [
    {
      name: 'chromium',
      use: { ...devices['Desktop Chrome'] },
    },

  ],

});
Next, we will run on Playwright test.

Related reading: